How to Send Your Logo for Leather Embossing: A Restaurant and Hotel Buyer’s Guide
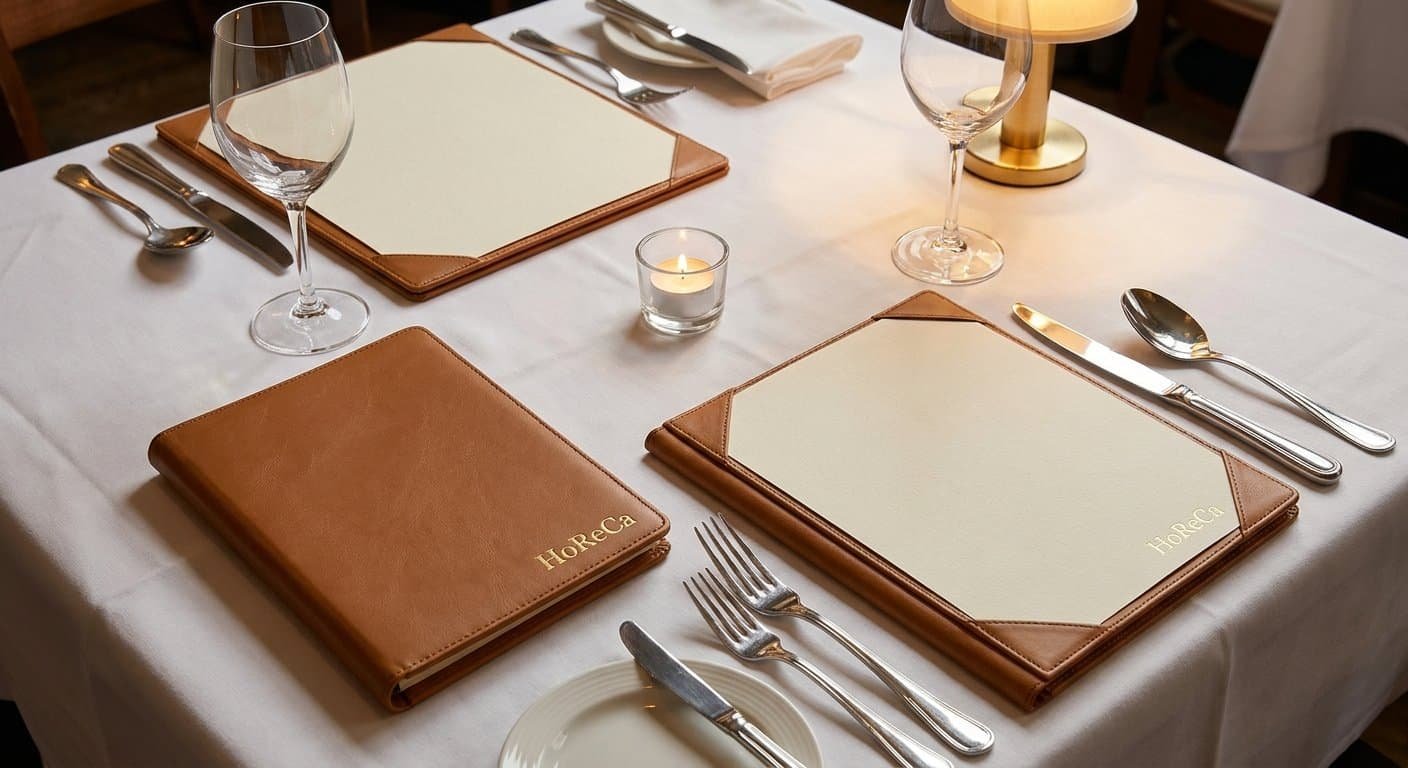
The single most common delay in a custom leather order is not production or shipping. It is logo files.
Buyers send a low-resolution PNG exported from a website, or a Word document with a logo pasted in, or a JPEG that has been compressed until the edges are soft. None of these work well for leather embossing. The result is either a delay while we request a better file, or — in the worst case — an embossed logo that does not match what the buyer expected.
This guide explains exactly what file formats work, what the different embossing methods look like, and how to prepare your logo so your leather menu covers, check presenters or hotel amenity sets arrive looking exactly as intended.
The Three Embossing Methods
Before discussing file formats, it helps to understand the three methods we use, because each has different requirements and produces a different result.
Blind embossing (debossing)
The logo is pressed into the leather using a heated metal die. The result is an indented impression with no added colour — the logo sits below the surface of the leather in the same colour as the surrounding material. Blind embossing is the most durable method: there is nothing to fade, peel or wear off. It works on all leather grades and most PU grades.
Best for: classic, understated branding; logos with clean lines; venues that want longevity over visual impact.
Foil stamping (hot stamp foil)
A heated die presses a metallic foil onto the leather surface, leaving a shiny gold, silver, rose gold or black impression. Foil stamping is more visually striking than blind embossing and photographs well. The foil is durable but can show wear on corners or high-contact areas after two to three years of heavy use.
Best for: fine dining, hotel branding, wine bars; logos that need to stand out against dark leather; buyers who want the cover to make a strong first impression.
Printed logo (screen printing or UV printing)
For logos with multiple colours or photographic elements that cannot be reproduced in a single foil colour, screen printing or UV printing applies the logo directly to the leather surface. This method handles colour gradients and complex artwork, but is less tactile than embossing and shows wear faster on high-contact surfaces.
Best for: colourful logos, illustrated marks, logos with gradients; less common on hospitality leather goods than embossing.
Most restaurant and hotel buyers choose either blind embossing or gold/silver foil stamping. The method you choose affects which file format is most important.
File Formats: What Works and What Does Not
What we need: vector files
The ideal file format for any embossing method is a vector file. Vector files describe your logo as mathematical shapes rather than pixels, which means they can be scaled to any size without losing quality and they give us the precise outlines needed to cut a metal embossing die.
Accepted vector formats:
- .AI (Adobe Illustrator) — preferred
- .EPS (Encapsulated PostScript) — preferred
- .PDF with outlined fonts — works well if fonts have been converted to outlines
- .SVG — acceptable for simpler logos
Important: a PDF or EPS file is not automatically a vector file. If your designer saved a JPEG inside a PDF wrapper, it is still a raster image. Ask your designer to confirm that all elements in the file are vector paths and that all fonts have been converted to outlines (not embedded as live text).
When vector files are not available
Many restaurant and hotel buyers do not have access to their original brand files, particularly if the logo was designed by an agency that retained the source files, or if the brand was created some years ago without proper asset handover.
In these cases, send us the highest-resolution raster file you have:
- .PNG with transparent background — preferred for raster files, minimum 300 dpi at the intended print size
- .TIFF — acceptable, same resolution requirement
- .JPEG — workable if high resolution, but compression artefacts around edges create problems for die cutting
A “high resolution” logo for embossing purposes means at least 300 pixels per inch at the size it will appear on the cover. If your logo will be embossed at 5 cm wide, the file needs to be at least 590 pixels wide (5 cm × 300 dpi ÷ 2.54). A logo that looks sharp on a website is typically 72 dpi — far below what is needed.
If your only file is a low-resolution image, we can trace it into a vector format for a small fee. We will send you the traced version for approval before any production begins.
Logo Sizing for Different Products
The size of the embossed area affects how detailed your logo can be. Fine detail — thin lines, small text, intricate illustration — compresses badly at small sizes.
Recommended logo dimensions by product:
| Product | Typical emboss area | Minimum line weight |
|---|---|---|
| Menu cover (front centre) | 6–10 cm wide | 0.5 mm |
| Menu cover (bottom corner) | 3–5 cm wide | 0.8 mm |
| Check presenter | 4–7 cm wide | 0.5 mm |
| Wine list cover | 5–8 cm wide | 0.5 mm |
| Key card holder | 2–4 cm wide | 1.0 mm |
| Luggage tag | 2–3 cm wide | 1.0 mm |
| Notebook cover | 5–8 cm wide | 0.5 mm |
If your logo includes fine detail that will not reproduce well at the required size, we will tell you before production. In most cases, a simplified version of the logo — wordmark only, or icon only — works better on small products than the full brand mark.
Placement Options
Logo placement is as important as the logo file itself. The most common placements for restaurant leather goods:
Front cover, centre: the standard placement for most menu covers and check presenters. Visible when the cover is on the table. Works with most logo shapes.
Front cover, bottom right corner: a more understated placement popular with fine dining venues. Allows the leather surface to be the primary visual, with the logo as a subtle mark.
Front cover, top centre: less common, typically used when the logo needs to be visible when covers are stacked.
Spine: for thick menu covers with a spine, the logo or restaurant name can be embossed along the spine edge — useful when covers are stored vertically.
Inside front cover: used for secondary information — a website address, a short tagline, or a “property of” mark for hotel in-room compendiums.
Tell us your preferred placement when you request a quote and we will include a digital mockup showing the logo at scale on the product before production begins.
The Approval Process
Our standard logo approval process before any bulk production:
Step 1 — Digital proof We place your logo on a scaled image of the product and send it by email for review. You can request adjustments to size, position or embossing method at this stage at no cost.
Step 2 — Physical sample (optional but recommended) For first orders, we strongly recommend approving a physical sample before bulk production. The sample shows the actual leather colour, logo impression depth and foil finish under real lighting. Samples ship from Shiling via DHL and arrive in most of Europe within five to seven working days.
Step 3 — Production approval Once you confirm the sample, bulk production begins. We send a photo report from the production line and a final pre-shipment inspection before any order leaves our facility.
No bulk production begins without your explicit written approval of either the digital proof or the physical sample.
Common Logo Problems and How to Fix Them
Problem: Logo has a white background Fix: ask your designer for a PNG with a transparent background, or an AI/EPS file. A white background embosses as a white rectangle around your logo.
Problem: Logo includes very thin lines (under 0.3 mm) Fix: simplify the logo for embossing use. Thin lines collapse in the die-cutting process and produce a blurred impression. Most designers can provide an “embossing-ready” version of a logo on request.
Problem: Logo is a photograph or has colour gradients Fix: use screen printing or UV printing rather than embossing, or work with your designer to create a single-colour version of the logo for embossing.
Problem: Logo text uses a custom font that is not outlined Fix: ask your designer to convert all text to outlines (paths) before saving the file. Unoutlined fonts require us to have the same font installed, which we may not have.
Problem: Logo file is from a website or social media profile Fix: these files are optimised for screen display at 72 dpi and are almost always too low resolution for embossing. Contact your original designer or brand agency for the source file.
Summary
Send a vector file (.AI, .EPS or outlined PDF) wherever possible. If you only have a raster file, send the highest-resolution PNG or TIFF available. Tell us your preferred embossing method (blind emboss or foil stamp), foil colour if applicable, and placement position.
We send a digital proof before production and a physical sample before bulk production on first orders. Nothing goes into production without your approval.
To start, send us your logo and brief and we will confirm file suitability, provide a digital proof and quote the full order within 24 hours.
HoReCa Leather supplies custom restaurant and hotel leather goods from Shiling, Guangzhou. MOQ from 50 pieces, 7-day sampling, DHL delivery to Europe and the Middle East.
Ready to source custom leather goods for your business?
MOQ 50 pieces. Sample in 7–10 days. Quote within 24 hours. Factory-direct from Shiling, Guangzhou.